Updated September 15, 2026
How to Use a Free Online Image Converter
Why use an online image converter
Desktop software like Photoshop or GIMP can convert images just fine, but you're paying for a license, waiting on installs, or fighting a steep learning curve for a task that should take seconds. An online image converter skips all of that. You open a tab, drop in your files, and get a converted image back before a native app would even finish loading.
Speed isn't the only reason to switch, though. Privacy matters just as much, especially if you're converting ID photos, contracts, medical scans, or unreleased product shots. Many so-called online converter tools upload your files to a remote server for processing, which means your images sit on someone else's storage, even if only briefly. ConvertImageNow processes everything locally in your browser using the HTML5 Canvas API, so nothing ever leaves your device, which is just one of the things that make it fast and private.
The best image converter is one that never sees your files in the first place.
Cost is the third factor. Plenty of image file type converter sites cap you at a handful of free conversions before demanding a subscription, or they slap a watermark on your output. That's a dealbreaker if you're batch-processing fifty product photos for an online store. A genuinely free tool has no login wall, no daily limit, and no fine print.
Here's how the two approaches stack up:
| Factor | Desktop software | Online converter (browser-based) |
|---|
| --- | --- | --- |
|---|
| Setup time | Install required | None, works instantly |
|---|
| Cost | Often a paid license | Free, no subscription |
|---|
| Privacy | Local, but requires install | Local processing, no upload |
|---|
| Batch conversion | Usually supported | Supported on tools like ConvertImageNow |
|---|
| Learning curve | Moderate to steep | Minimal, drag and drop |
|---|
For most everyday conversion tasks, a browser-based tool wins on every count that matters: speed, privacy, and cost.
Step 1. Upload your image files
Open ConvertImageNow in any modern browser and you'll land straight on the upload area, no login screen, no forced tour. This is where the actual work of an image converter begins, and it takes seconds regardless of how many files you're handling.
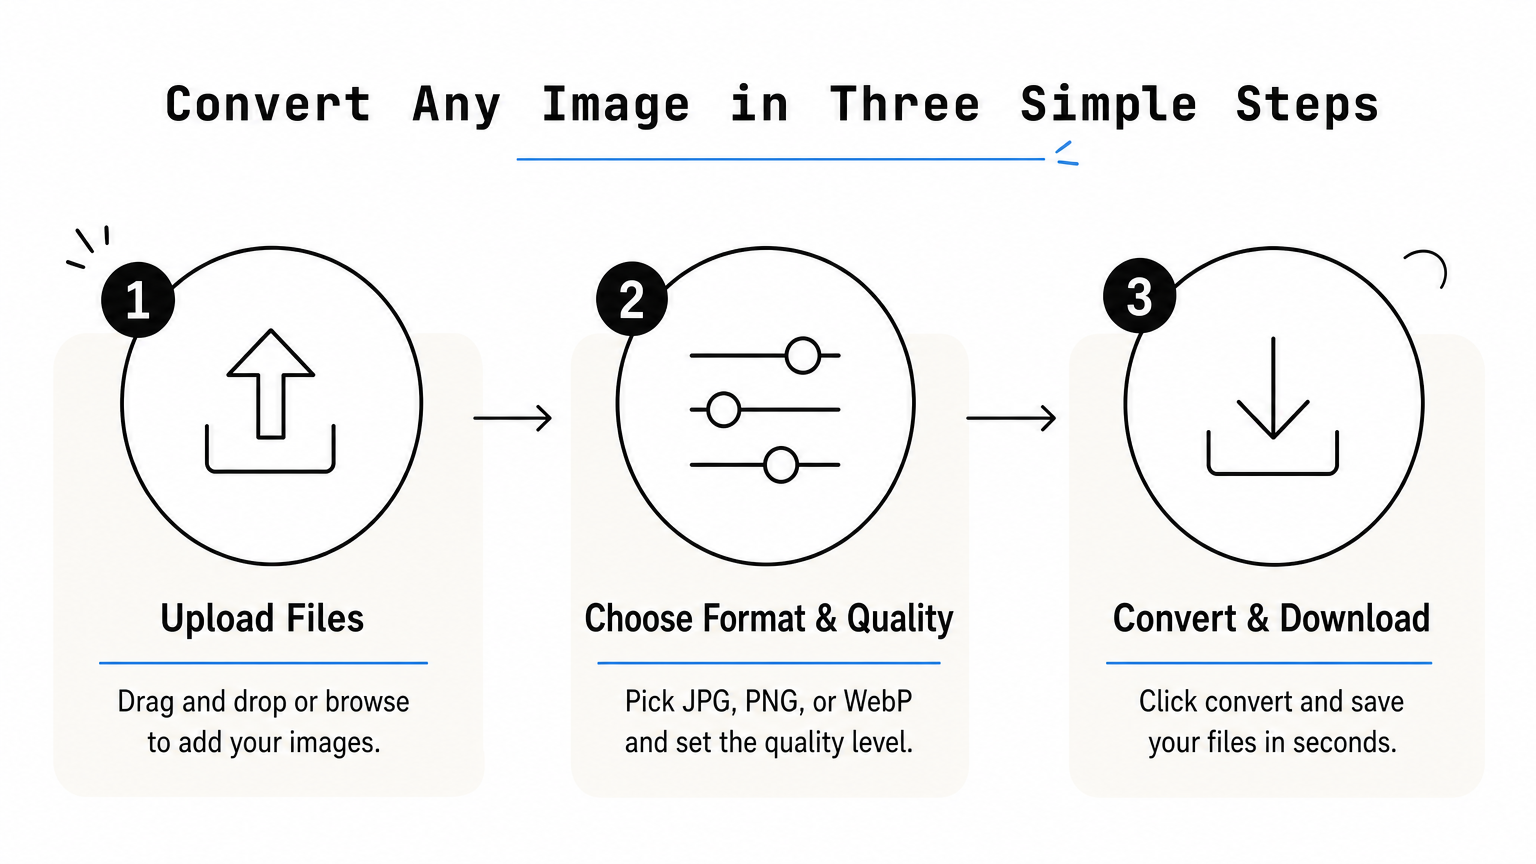
Drag, drop, or browse
You can drag your files directly from your desktop or phone gallery onto the upload zone, or click to browse your folders manually. Both methods work identically well, so use whichever fits your workflow.
What formats you can bring in
The tool accepts:- JPG and JPEG- PNG- WebP- AVIF
That covers nearly every format you'll run into from cameras, screenshots, design software, or e-commerce platforms.
Uploading multiple files at once
If you're prepping product photos or a batch of screenshots, select several files at once instead of repeating the process one by one. Batch conversion is built in, so dropping in twenty images takes the same effort as dropping in one.
Once your files appear in the queue, nothing has been uploaded to a server. They're sitting in your browser's memory, ready for the next step: picking your output format.
Step 2. Choose your output format and quality
Once your files sit in the queue, ConvertImageNow shows you the output options for each one. This step is where an image converter format choice actually happens, and it takes one click.
Picking your target format
Select JPG, PNG, or WebP as your export format. Pick JPG for photos headed to a marketplace, PNG when you need transparency, or WebP for smaller files that still look sharp on a website.
A good format choice can shrink your file size by half without anyone noticing the difference.
Adjusting the quality slider
Drag the quality slider to balance file size against visual sharpness. Higher settings keep more detail but produce larger files, while lower settings reduce image file size at the cost of some crispness. For most product photos, 80 to 90 percent quality holds detail while cutting file size noticeably.
Applying settings across a batch
If you uploaded multiple images, apply the same format and quality setting to the whole batch instead of adjusting each file individually. That single choice carries through every image in your queue, saving you from repeating the same clicks twenty times over.
Step 3. Convert and download your images
With your format and quality settings locked in, hit the convert button and watch the process finish in seconds. This is where an image converter proves its worth: there's no upload progress bar crawling along, because your files never leave your device in the first place.
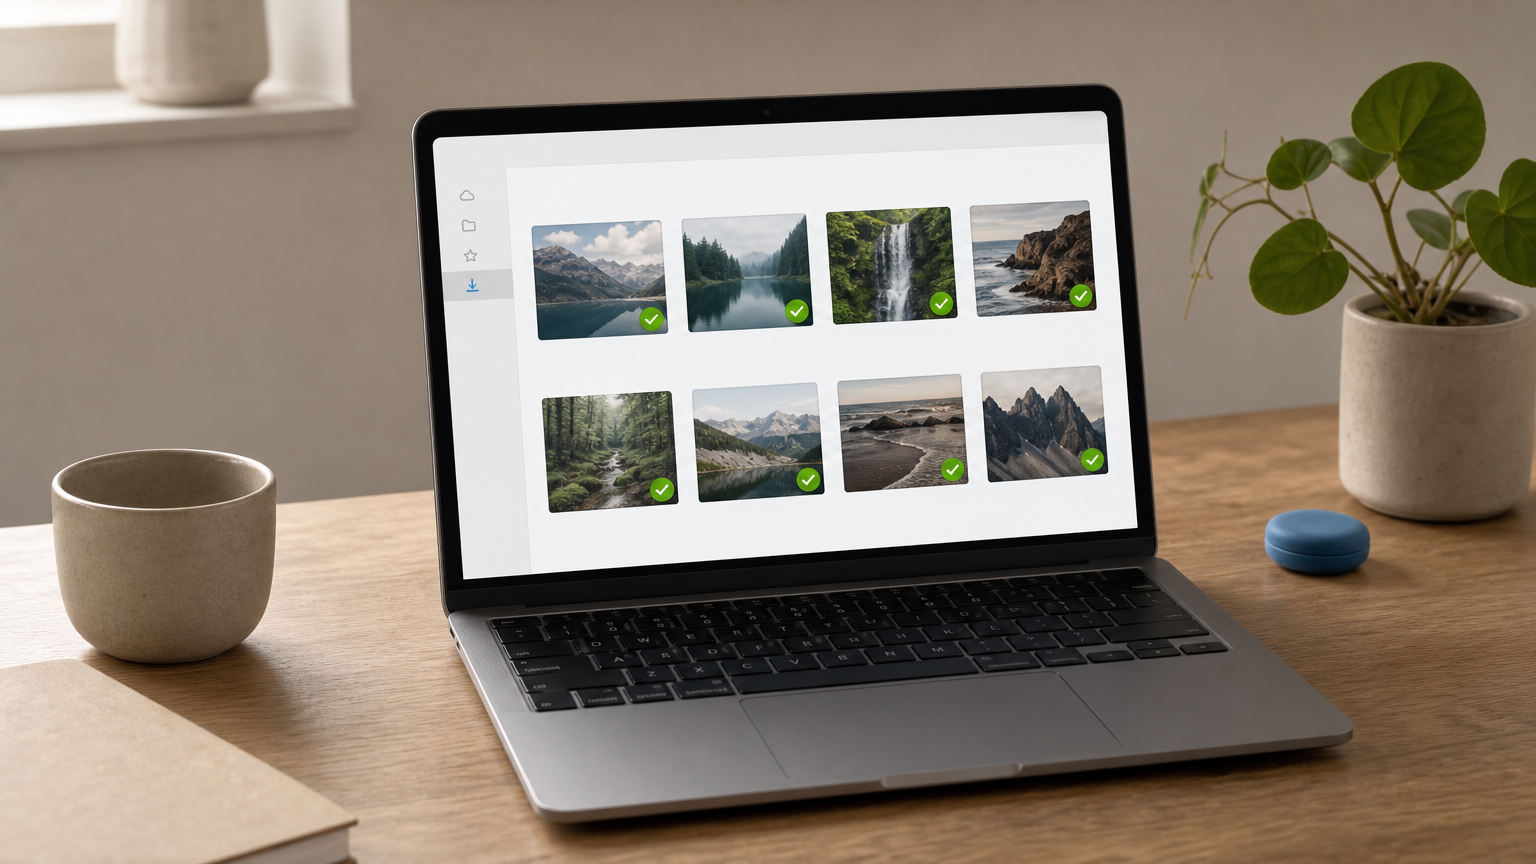
What happens when you click convert
The HTML5 Canvas API in your browser redraws each image in the new format, right there on your machine. For a single photo, this takes less than a second. For a batch of fifty product shots, expect a few seconds total, not minutes.
Converting a batch of images shouldn't take longer than making a sandwich.
Downloading your converted files
Once conversion finishes, you get two options:- Download files one at a time if you only need a couple- Download everything as a single batch if you converted a full folder
Either way, files save straight to your downloads folder with no extra clicks, no email confirmation, and no watermark stamped across your image. Your original files stay untouched, so you can always reconvert with different settings if the first result isn't quite right.
Choosing the right format: JPG, PNG, WebP, or AVIF
Every image file format trades off compression, transparency, and compatibility differently, so the right pick depends on where the file is headed. Getting this right matters more than most people realize, since the wrong choice can bloat a page's load time or strip out transparency you needed.
Matching format to purpose
Grab JPG for photographs and marketplace listings since it compresses well and every platform accepts it. Reach for PNG when you need a transparent background, like a logo or icon overlaid on other content. Choose WebP for websites, since the format delivers smaller files than JPG at similar quality, which speeds up page loads. Consider AVIF when file size matters most and your audience uses modern browsers, since this newer compression format often beats WebP.
Pick the format for where the image lives, not the format you're used to.
Quick comparison table
| Format | Best for | Transparency | Typical file size |
|---|
| --- | --- | --- | --- |
|---|
| JPG | Photos, marketplaces | No | Small to medium |
|---|
| PNG | Logos, graphics | Yes | Larger |
|---|
| WebP | Websites, faster loads | Yes | Small |
|---|
| AVIF | Max compression | Yes | Smallest |
|---|
Unsure which one fits your project? Run the same file through each option and compare the results side by side before you commit.
Converting images the easy way
Switching a file from one format to another shouldn't require a software install, an account, or a credit card. You've seen how a browser-based image converter handles the whole job in three steps: upload your files, pick the format and quality, then download the result. No server ever touches your images, no watermark gets stamped on your work, and no daily limit cuts you off halfway through a batch of product photos.
That's the whole point of a genuinely free tool. Whether you're prepping a single logo or converting fifty images for an online store, the process stays the same and takes about as long as it took you to read this guide. Next time a file lands in the wrong format, skip the downloads and the sign-up forms. Open the free online image converter and convert it right in your browser, free, private, and done in seconds.
Related Articles
How to Make an Image File Smaller Without Losing Quality
Learn how to reduce image file size by compressing, resizing, and converting JPG, PNG, WebP, and other image formats.
PNG vs JPG: Which Image Format Should You Use?
PNG and JPG are designed for different jobs. Learn which format is better for photos, logos, screenshots, transparency, and websites.
How to Convert JPG to WebP for Smaller Website Images
Learn how to convert JPG images to WebP, choose quality settings, compare file sizes, and prepare images for faster websites.
Ready to convert your images?
Open the Image Converter